About
ChocoMaker & Make’n Mold
Compound Development Solutions LLC family of brands provide our customers and consumers a wide variety of delicious chocolate and confectionery products. Every product in our portfolio is carefully manufactured with the same commitment to quality, innovation, and consistency.
Browse by product category
Products that inspire
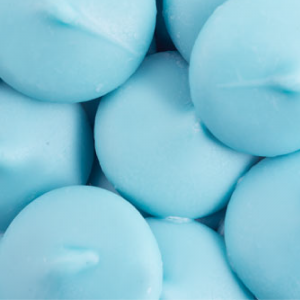
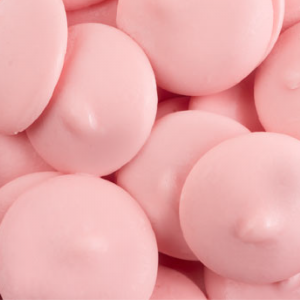
- Candy Wafers
- ChocoDrizzlers
-
-
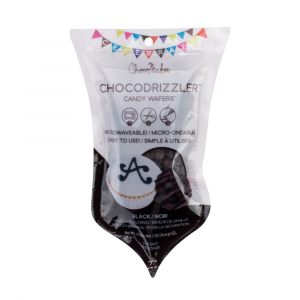
Black Vanilla Flavored ChocoDrizzlers
-
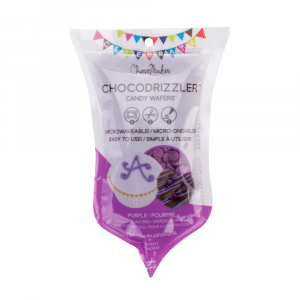
Bright Purple Vanilla Flavored ChocoDrizzlers
-
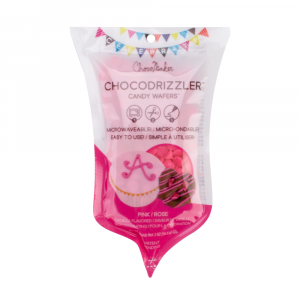
Bright Pink Vanilla Flavored ChocoDrizzlers
-

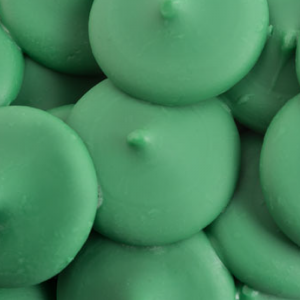
Bright Green Vanilla Flavored ChocoDrizzlers
-
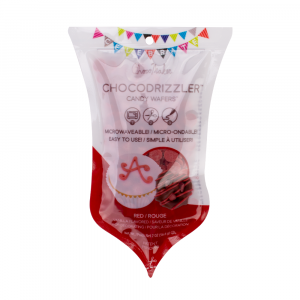
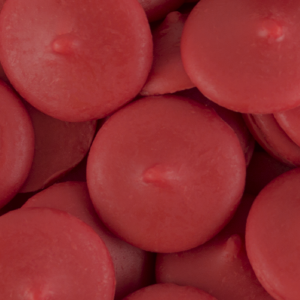
Red Vanilla Flavored ChocoDrizzlers
-

Bright Blue Vanilla Flavored ChocoDrizzlers
-
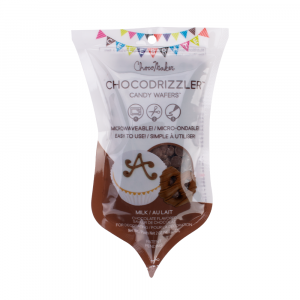
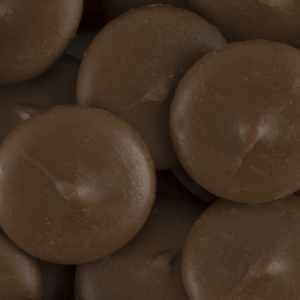
Milk Chocolate Flavored ChocoDrizzlers
-

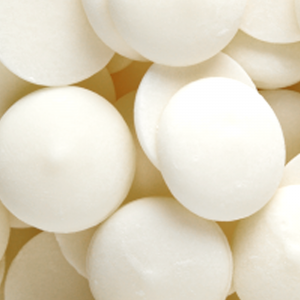
Bright White Vanilla Flavored ChocoDrizzlers
-